Exploring the Treatment Planning Workspace
Treatment planning in SureSmile encompasses the overall treatment approach for a specific patient. It is broader than just the SureSmile setup prescription, as it includes specific protocols and any additional appliances needed such as TADs, elastics, and auxiliaries. In SureSmile, treatment planning generally begins with a setup prescription that is used to create a setup model. The doctor then derives a prescription for archwires from the setup prescription. The process for developing a treatment plan based on the patient's therapeutic model is described in the following topics.
SureSmile's treatment planning workspace contains powerful visualization tools for precision diagnosis, treatment simulation and customized appliance design.
SureSmile's treatment planning workspace contains powerful visualization tools for precision diagnosis, treatment simulation and customized appliance design.
Click a product on a patient card or on the patient's treatment timeline to display the product in the treatment planning workspace.
Top of Window
At the very top of the window, to the right of the SureSmile logo, are a series of links that lets you backtrack:
- name of the practice
- number of tasks for the logged in user (gray) and for the practice (black),
- patient name and ID
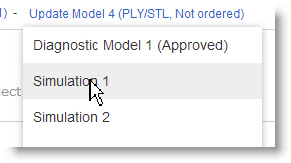
- name and status of product displayed in main window
Tip: Click and hold product name to see a list of all products for patient. Slide down list and click the product you want to open.

Help, Profile, Search
To the right of the series of links is the help button ![]() . Clicking opens a drop-down menu where you can select the Help Center (this online help), sure u, Contact Us, News, and Marketplace. The settings icon
. Clicking opens a drop-down menu where you can select the Help Center (this online help), sure u, Contact Us, News, and Marketplace. The settings icon ![]() contains several menus for administering your own account. See Change your Profile for more information. To the right of the setting icon is a search box that allows to you to search across your entire patient database without closing the current patient.
contains several menus for administering your own account. See Change your Profile for more information. To the right of the setting icon is a search box that allows to you to search across your entire patient database without closing the current patient.
Favorites Palette
The star icon on the left of the middle, taupe colored ribbon display displays a list of your favorite icons, those that you use most frequently as you treat patients. This list is saved and is available each time you are logged on.
An option in the Appearance preferences allows you to specify that you want the Favorites Palette to open automatically when you are in the treatment workspace. In the Favorites Palette, you can also drag and drop icons to put in your preferred sequence. See Appearance Preferences.
Checklist
The checklist icon toggles on/off the automated workflow guide for the product displayed. See the following topics for information about specific checklists:
- Diagnostic Models and Treatment Planning
- Reviewing therapeutic models
- Ordering Setup Prescriptions
- Using Simulations
- Reviewing Setup Prescriptions
- Evaluating and modifying archwires
Menu Bar
When you click any of the menus in the menu bar, the menu bar expands to display a row or palette of icons related to the menu. Place your cursor over each icon for a brief description of its function. Help topics provide a detailed description of each menu palette icon.
Window Display Controls
The controls on the right side of the menu bar control the display of the page:
- Click
 to open a window to view product notes, patient notes, and customer holds. Patient notes are displayed by default.
 - When the row of icons is displayed for a menu, click
 to toggle the labels on/off for each of the icons.
 - Click
 to toggle on/off the two side windows.
 - Click
 to expand the main window to fill the screen.
 - Click
 to toggle on/off a detailed view of the treatment timeline. Once open, click the black clock button to hide the timeline detail and keep the high level timeline view. Once the detail is hidden, click the gray clock icon on the menu bar to completely hide the timeline
Main Window
The large window with a center circle and a smaller circle and square inside is your main window. The circle with the smaller circle and square inside it are your camera navigation controls. Click in and around the circle and then drag to get an idea of how to use these controls to manipulate a 3D model. See the Viewing the Model for detailed instructions on how to use these controls.
Side Windows
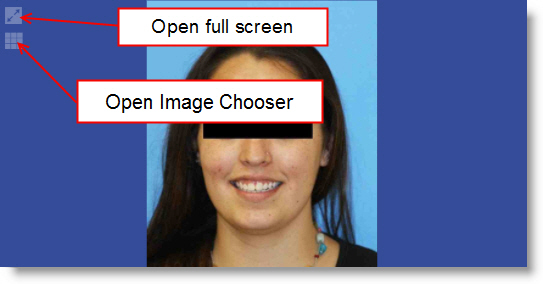
Use these two side windows to assist you as you plan treatment, or rely on the images automatically displayed by the SureSmile guides. In the top left corner of photos and X-rays in the side windows are two buttons as shown below:

- Click the top button to display the image full-screen in a separate browser window . You can drag this window to a second monitor if available. This window has tools for cropping or annotating the image or select other images. See Edit Images for more information.
- The bottom button opens the Image Selection window from which you can select another image for that position.
Treatment Planning Tabs
The bottom portion of the workspace contains a series of tabs. Each of these tabs contains detailed controls and functions for further manipulating the 3D model as you plan and prescribe patient treatment. The tabs shown will differ according to the product displayed in the main window.
See also ...